How to deposit SOL is essential for engaging with Solana (SOL), a leading cryptocurrency known for its thriving ecosystem. Understanding this process allows you to fund your wallet or exchange account effectively. This guide provides step-by-step instructions, ensuring you know exactly how to deposit SOL securely and confidently for trading or dApp interaction on the network.

Contents
Why do you need to know how to deposit SOL?
Knowing the reasons for depositing SOL clarifies its importance within the Solana ecosystem. Primarily, users deposit SOL onto centralized (CEXs) or decentralized (DEXs) exchanges to facilitate trading activities, such as buying, selling, or swapping SOL for other cryptocurrencies. Another significant use case is staking, where sending SOL to validators or designated pools helps secure the network while allowing holders to earn rewards on their assets.
Furthermore, deposited SOL is essential for interacting with the many decentralized applications (dApps) built on Solana, as it’s required for paying transaction fees and executing smart contract functions. It’s also often a prerequisite for participating in Initial DEX Offerings (IDOs) or presales for emerging projects. Finally, advanced tools like trading bots frequently require readily available SOL in a linked wallet to function properly. Understanding how to deposit SOL is therefore the crucial first step to engaging in any of these diverse activities.
Preparations before depositing SOL
Before you learn the specifics of how to deposit SOL, you need a few things ready:
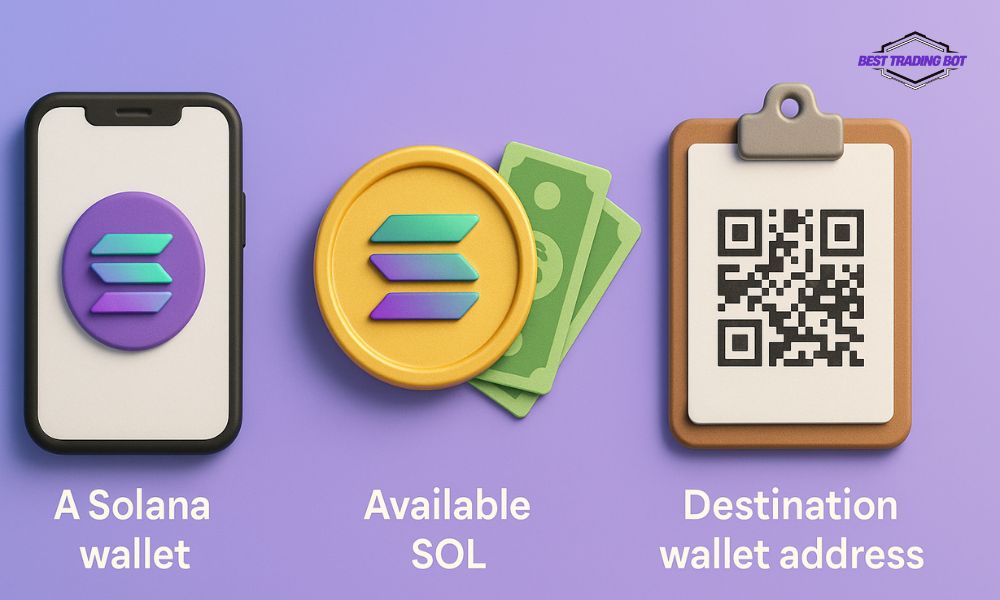
A Solana wallet: You need a wallet that supports the Solana network. Popular options include Phantom, Solflare, or wallets provided by exchanges. Crucially, you must control the source wallet (where your SOL currently is) and know the destination wallet address (where you want to send the SOL).
Available SOL: Naturally, you must have SOL in your source wallet. You can acquire SOL from exchanges or receive it from others.
Destination wallet address: This is the Solana wallet address where you intend to deposit the SOL. Ensure you have the correct address.

Detailed steps on how to deposit SOL
The process for depositing SOL generally involves these basic steps, applicable across most platforms and wallets:
Step 1: Identify the receiving SOL wallet address
This is the most critical step. You need to obtain the Solana wallet address where you want to receive the SOL.
- Depositing to an exchange: Log in to your exchange account. Navigate to the “Deposit”, “Funding”, or “Wallet” section. Select SOL (Solana) as the cryptocurrency. The exchange will provide you with a unique SOL deposit address. Make sure you select the correct network: Solana (SPL).
- Depositing to a personal wallet (e.g., Phantom, Solflare): Open your wallet application. Usually, your wallet address is displayed prominently on the main interface. Click on it to copy the address.
- Depositing to a dApp or other platform: Look for a “Deposit”, “Connect Wallet”, or “Fund” function on the platform and follow the instructions to get the SOL deposit address.
Important note: A Solana wallet address is typically a long string of characters, e.g., abcde12345fghij67890klmnopQRSTUVWXYZ12345. Always copy this address instead of typing it manually to prevent errors.
Step 2: Initiate the SOL transfer from the source wallet
Now, access the wallet or exchange where your SOL is currently held (the source wallet).
- Find the “Send”, “Transfer”, or “Withdraw” function.
- Select SOL as the cryptocurrency.
- Paste the destination address: Paste the SOL wallet address you copied in Step 1 into the “Recipient Address” or “Send to” field.
- Enter the amount of SOL: Input the quantity of SOL you wish to send. Some platforms might have minimum deposit requirements, so check this carefully.
- Select the network: Ensure you choose the correct network: Solana (often labeled as SOL, Solana, or SPL). Selecting the wrong network can lead to the permanent loss of funds. This network selection is a vital part of knowing how to deposit SOL correctly.
- Review the details: Double-check the destination wallet address, the amount of SOL, and the selected network one last time.
- Confirm the transaction: Enter your password, 2FA code (if applicable), and confirm the withdrawal.
Step 3: Wait for transaction confirmation
After sending, your transaction will be processed on the Solana network.
- Solana is known for its speed, so transactions usually take only a few seconds to a couple of minutes to complete.
- You can monitor the transaction status using the transaction ID (TxID) on a Solana blockchain explorer like Solscan.
- Once the transaction receives the required number of confirmations by the receiving platform, the SOL balance will appear in your destination wallet or account.
Important considerations when learning how to deposit SOL
Double-check the wallet address: Even a single incorrect character can result in losing all the sent SOL. Use copy-paste and verify the first and last few characters of the address.
- Transaction fees (Gas fees): The Solana network has very low transaction fees, typically a tiny fraction of a SOL. However, your source wallet needs to hold enough SOL to cover this fee.
- Minimum deposit amount: Some exchanges enforce minimum deposit amounts for SOL. Check this information before sending.
- Solana network (SPL): Always ensure you are sending and receiving on the same Solana network. Absolutely do not send SOL via other networks like Ethereum (ERC-20) or Binance Smart Chain (BEP-20) unless the destination explicitly supports it. Understanding networks is fundamental to the process of how to deposit SOL.
- Security: Never share your private key or wallet recovery phrase with anyone.
- Send a small test amount: If you are depositing for the first time or sending a large amount, consider sending a small test transaction first to ensure the process works correctly.
Mastering how to deposit SOL gives you the confidence to participate fully in the Solana ecosystem, from simple trading to using complex applications or engaging in new investment opportunities.
The procedure for how to deposit SOL into a wallet or exchange is quite simple and fast if you carefully follow each step: get the correct receiving address, select the right Solana (SPL) network when sending, and double-check all details before confirming. For staying ahead with trading opportunities and utilizing powerful tools on Solana, follow Best Trading Bot for updates and insights.
